Showing posts with label desserts. Show all posts

Monday, January 23, 2012

Snickerdoodle Cupcakes

If you haven't heard... I'm kind of, a little, just a bit... falling in love with baking.  You can read the full story here. and get links to the other great recipes!


I have shared over the couple of weeks, recipes for various cupcakes, ice cream cakes, and cookies... but the one I'm about to share with you is BY FAR my absolute FAVORITE!  It may just be the best cake I have ever put in my mouth!  Light, fluffy, moist, not to sweet... and the icing, NOM!!  So with no further delay, let me introduce to you,


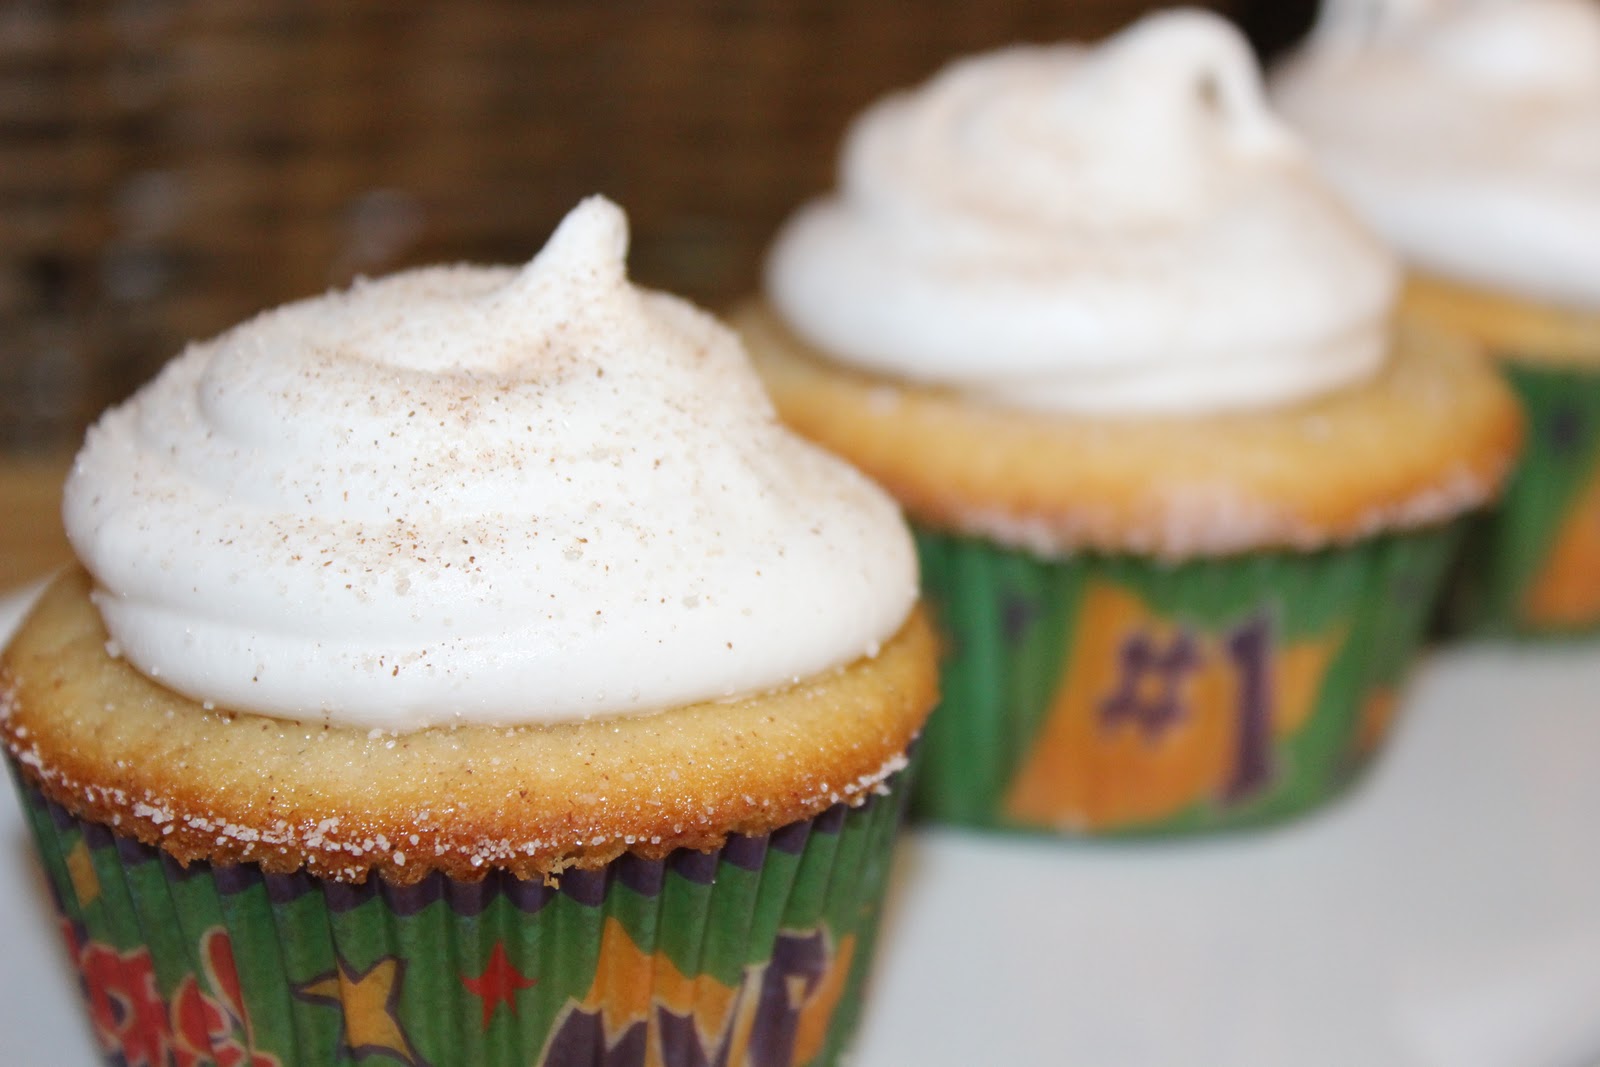
SNICKERDOODLE CUPCAKES,  OH YEAH!
Cupcake recipe from Your Cup of Cake

Cupcake Ingredients:

1 ½ cup all purpose flour
1 teaspoon baking powder
¼ teaspoon salt
½ teaspoon cinnamon
½ cup melted butter, cooled
1 ¼ cup sugar
2 eggs
1 teaspoon vanilla
¼ teaspoon almond extract
¾ cup whole milk
¼ cup cinnamon sugar, for topping

Cupcake Directions:
  1. Preheat oven to 350 degrees.
  2. Sift together flour, baking powder, salt and cinnamon.
  3. In a separate bowl, beat sugar and cooled butter until light and fluffy.  Then add eggs, vanilla, almond extract and milk. Mix until well blended. 
  4. Combine dry and wet ingredients and mix until smooth. 
  5. Spoon into cupcake liners and bake for 18-25 minutes, or until a toothpick comes out clean. 
  6. While they cool, make up your frosting.  Frost once completely cooled, sprinkle generously with cinnamon and sugar mixture.   


7 MINUTE FROSTING
Frosting recipe from Real Food Has Curves
(For best results, make this frosting the day you plan to serve the cupcakes)

Frosting Ingredients:
3 large egg whites
2 1/4 cups granulated white sugar
1/2 cup water
2 teaspoons light corn syrup
2 teaspoons vanilla extract
1/4 teaspoon salt

Frosting Directions:
  1. In a medium Sauce pan bring (about) 2 inches of water to boil over high heat.  Create a double boiler* by choosing a large heat-safe mixing bowl that will eventually fit the top of the saucepan like a lid. (make sure the water will not touch the bottom of the mixing bowl.) 
  2. In the mixing bowl mix all ingredients together with an electric mixer until well blended.
  3. Turn heat to low-medium, bringing water to a simmer. Place mixing bowl over pan. 
  4. Continue to beat on high until consistency of frosting is much like marshmallow cream, and stiff peaks form when beaters are removed.  (About 7 minutes... but I actually ended up going more like 10 minutes) Count this as your workout for the day...my arms were so tired!
  5. Remove from heat, place in a piping bag and stick the tip in your mouth and eat... uhh, I mean, Frost your beautiful cupcakes!  Delish!
 *Yes, you can use a real double boiler itself, but you need a super-duper big one for the heaping mound of frosting to come.

Saturday, November 12, 2011

Purple Cow ... MOOO!


Purple Cow
  • Grape Soda **
  • Old Fashioned Vanilla Ice Cream
  1. Fill medium sized glass 1/3 full of soda
  2. Using an icecream scoop, place 4 scoops vanilla ice cream in the glass.
  3. Fill the rest of the way with soda
** Grape Juice can be substituted for the grape soda. I love the tangy flavor of the juice with the sweet creamy flavor of the icecream, but the rest of my family prefers the soda. :)

Get it.. Purple for the Grape... and Cow for the "milk"/ ice cream! :) haha... makes a Purple Cow, and a might yummy one at that!

Friday, August 26, 2011

Mini Pudding Poppers

Way back when... I read a post Red, White, and Blue Pudding Pops by one of the sweetest, most genuine beautiful girls I know... and thought... My kids would love those. So, I rushed to the store, bought some supplies, and a month later as I was organizing my pantry I thought, why do I have all this pudding (light bulb).  So I got it all out and here is what we came up with. 


Mini Pudding Poppers

  • 2 boxes of your favorite pudding flavors (prepared)
    • we used chocolate and cheesecake flavored pudding
  • bathroom size disposable cups

  1. Make pudding according to box directions. 
  2. Layer flavors into each cup, great project for older kiddos.
  3.  Line up cups in a backing dish or cookie sheet and place in freezer for at least 2 hours.
  4. Pop up and enjoy the yummy goodness!